Overview
Disability Resources typically uses two different text-to-speech tools for students called Read& Write and ReadSpeaker. Read&Write is a cross-platform literacy tool which can read aloud text to students to support reading processing during exams and quizzes. Read&Write is the most common text-to-speech used for exams and reading digital content. ReadSpeaker is text-to-speech currently integrated into Canvas and is typically used due to it’s ability to be used in Lockdown Browsers.
When testing at the Testing Center, the Testing Center has several computers with Read&Write Desktop pre-installed. If approved for this accommodation, you will be placed at a desk with a computer (either Windows or Mac) and will be given a USB flash drive containing a digital copy of your exam (usually a PDF or Word document). You’ll use Read&Write to read your exam and then provide your answers on the physical copy of your exam.
Important Reminders
- When scheduling your exam, be sure you check BOTH the Alternative Format Materials for Exams and the Read&Write for Windows/Mac (depending on which type of computer you use). If you don’t check these boxes, it’s likely you will not be placed at a computer.
- If your exam is online and you are able to bring your own computer, you can plan on using Read&Write on your personal device.
ReadSpeaker for Windows
For more information on using ReadSpeaker in Canvas, please see: https://lms.tamu.edu/menu/ltis/readspeaker.
Read&Write for Windows
- Step 1: Open computer to home page, locate the Read&Write app usually positioned in the lower left-hand side.

Step 2: Click on the app prompting it to launch

Step 3: Find the text that you would like to read.
Step 4: Select the text with either your cursor or using the screenshot reader.

Step 5: Click the play and pause button to listen and stop as needed.
To change the voice or speed:
- Go to the far-right upper corner and click on the 3 horizontal lines.
- Scroll to the last option of “Show more settings” and click this option.
- On the left-hand side go to the tab labeled “speech”.
- Here are options to change the speed, frequency, word pauses, etc.
- NOTE: if you are taking a foreign language exam, a voice respective to the language for your course/exam should be available for use.


ReadSpeaker for Mac Computers
For more information on using ReadSpeaker in Canvas, please see: https://lms.tamu.edu/menu/ltis/readspeaker.
Read&Write for Mac Computers
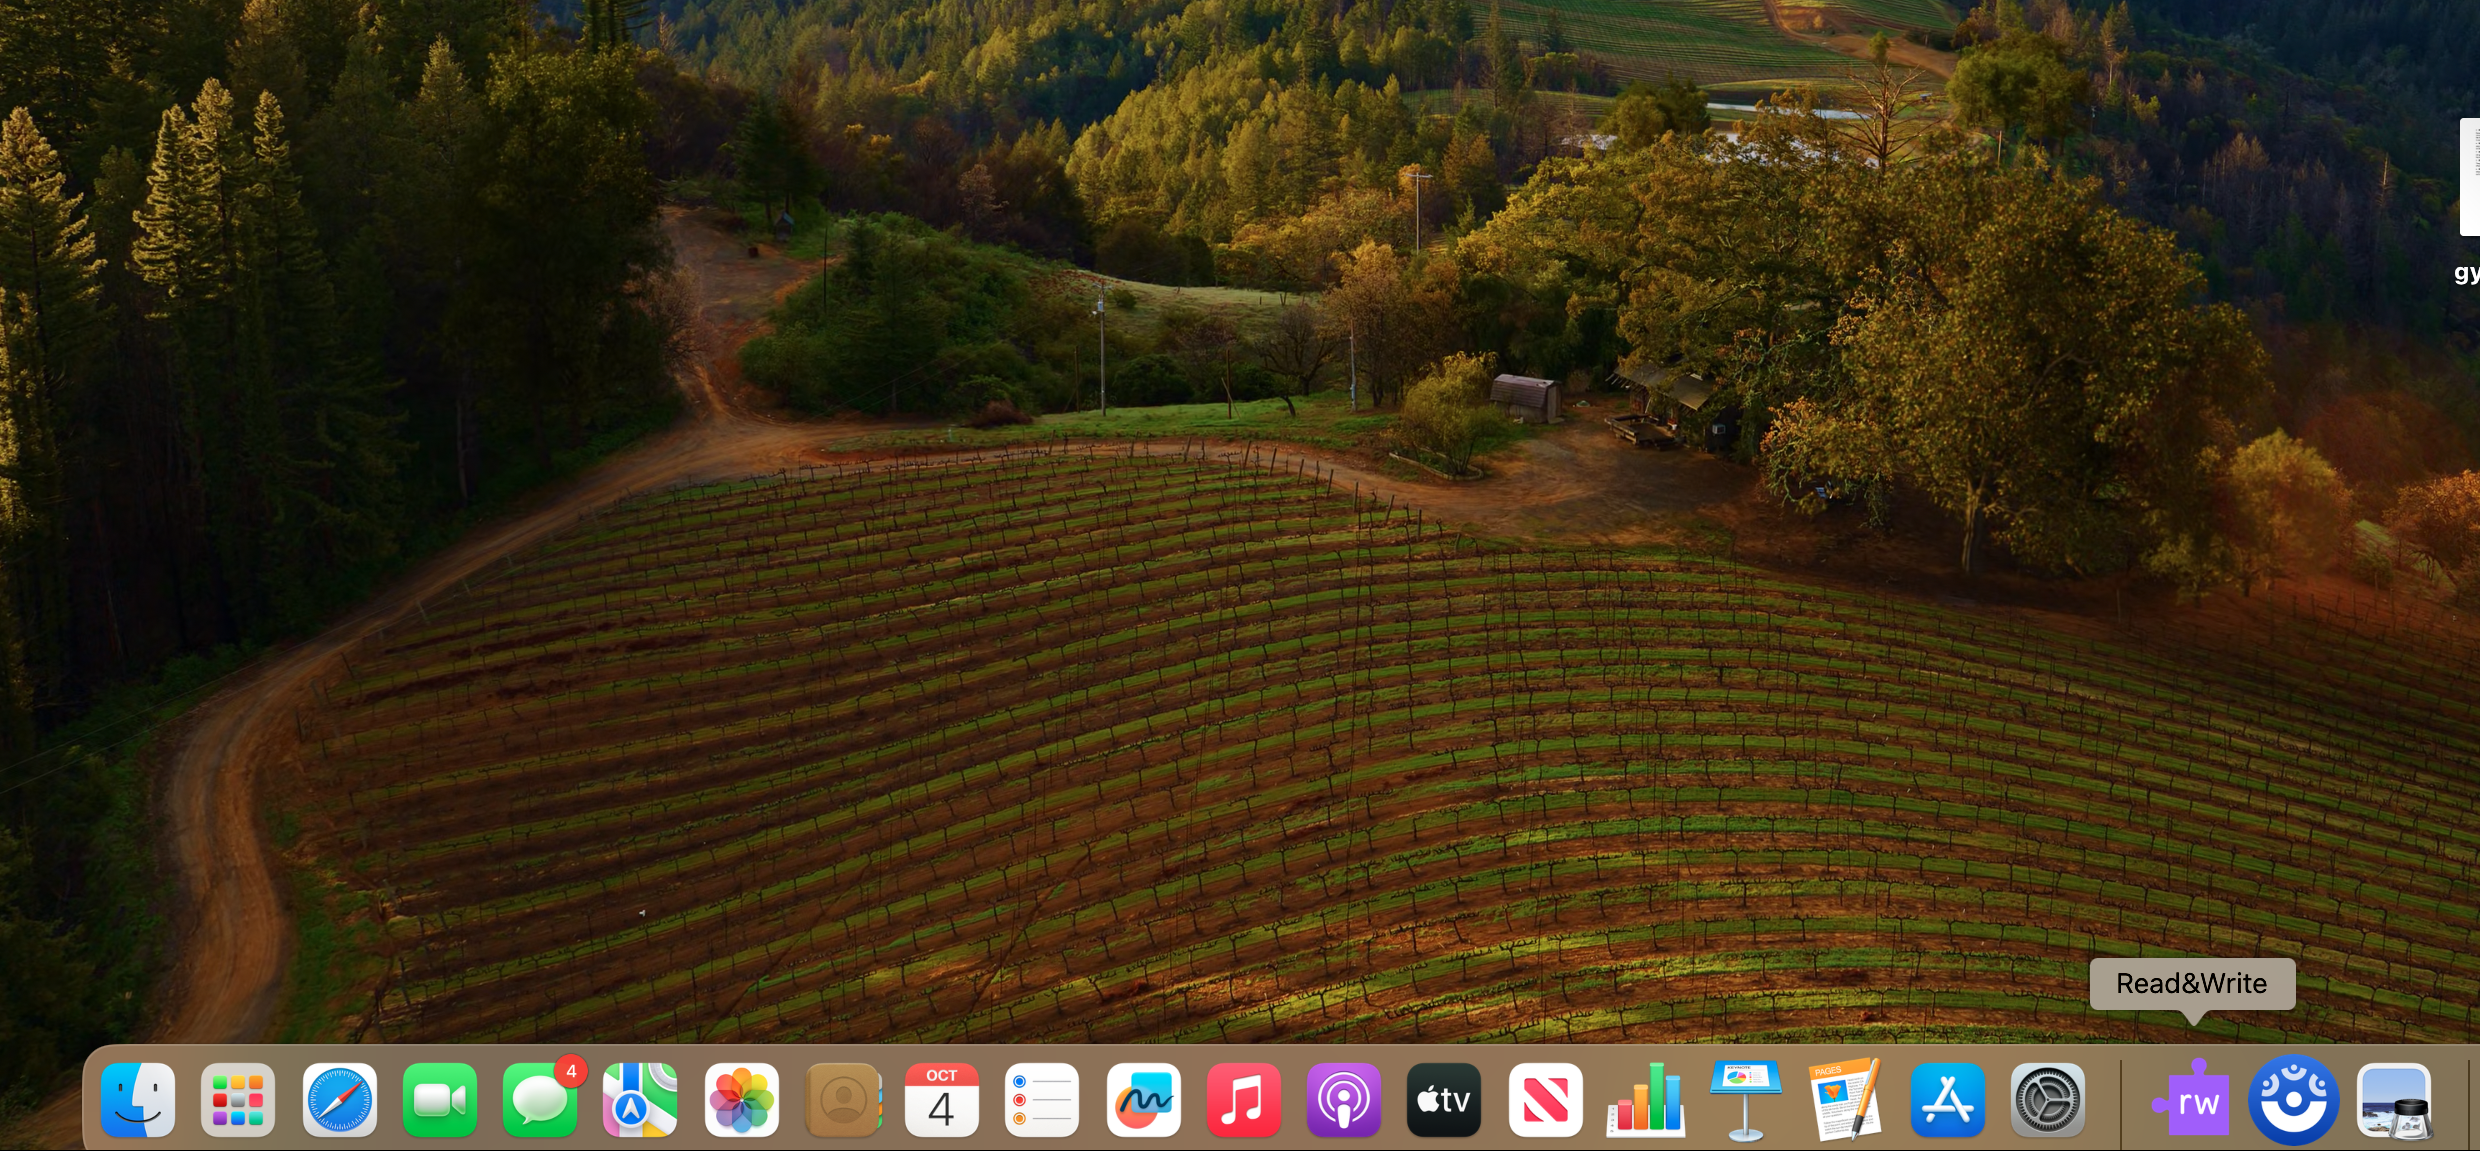
- Locate Read&Write app either located in the Launchpad apps or on the bottom bar of the computer
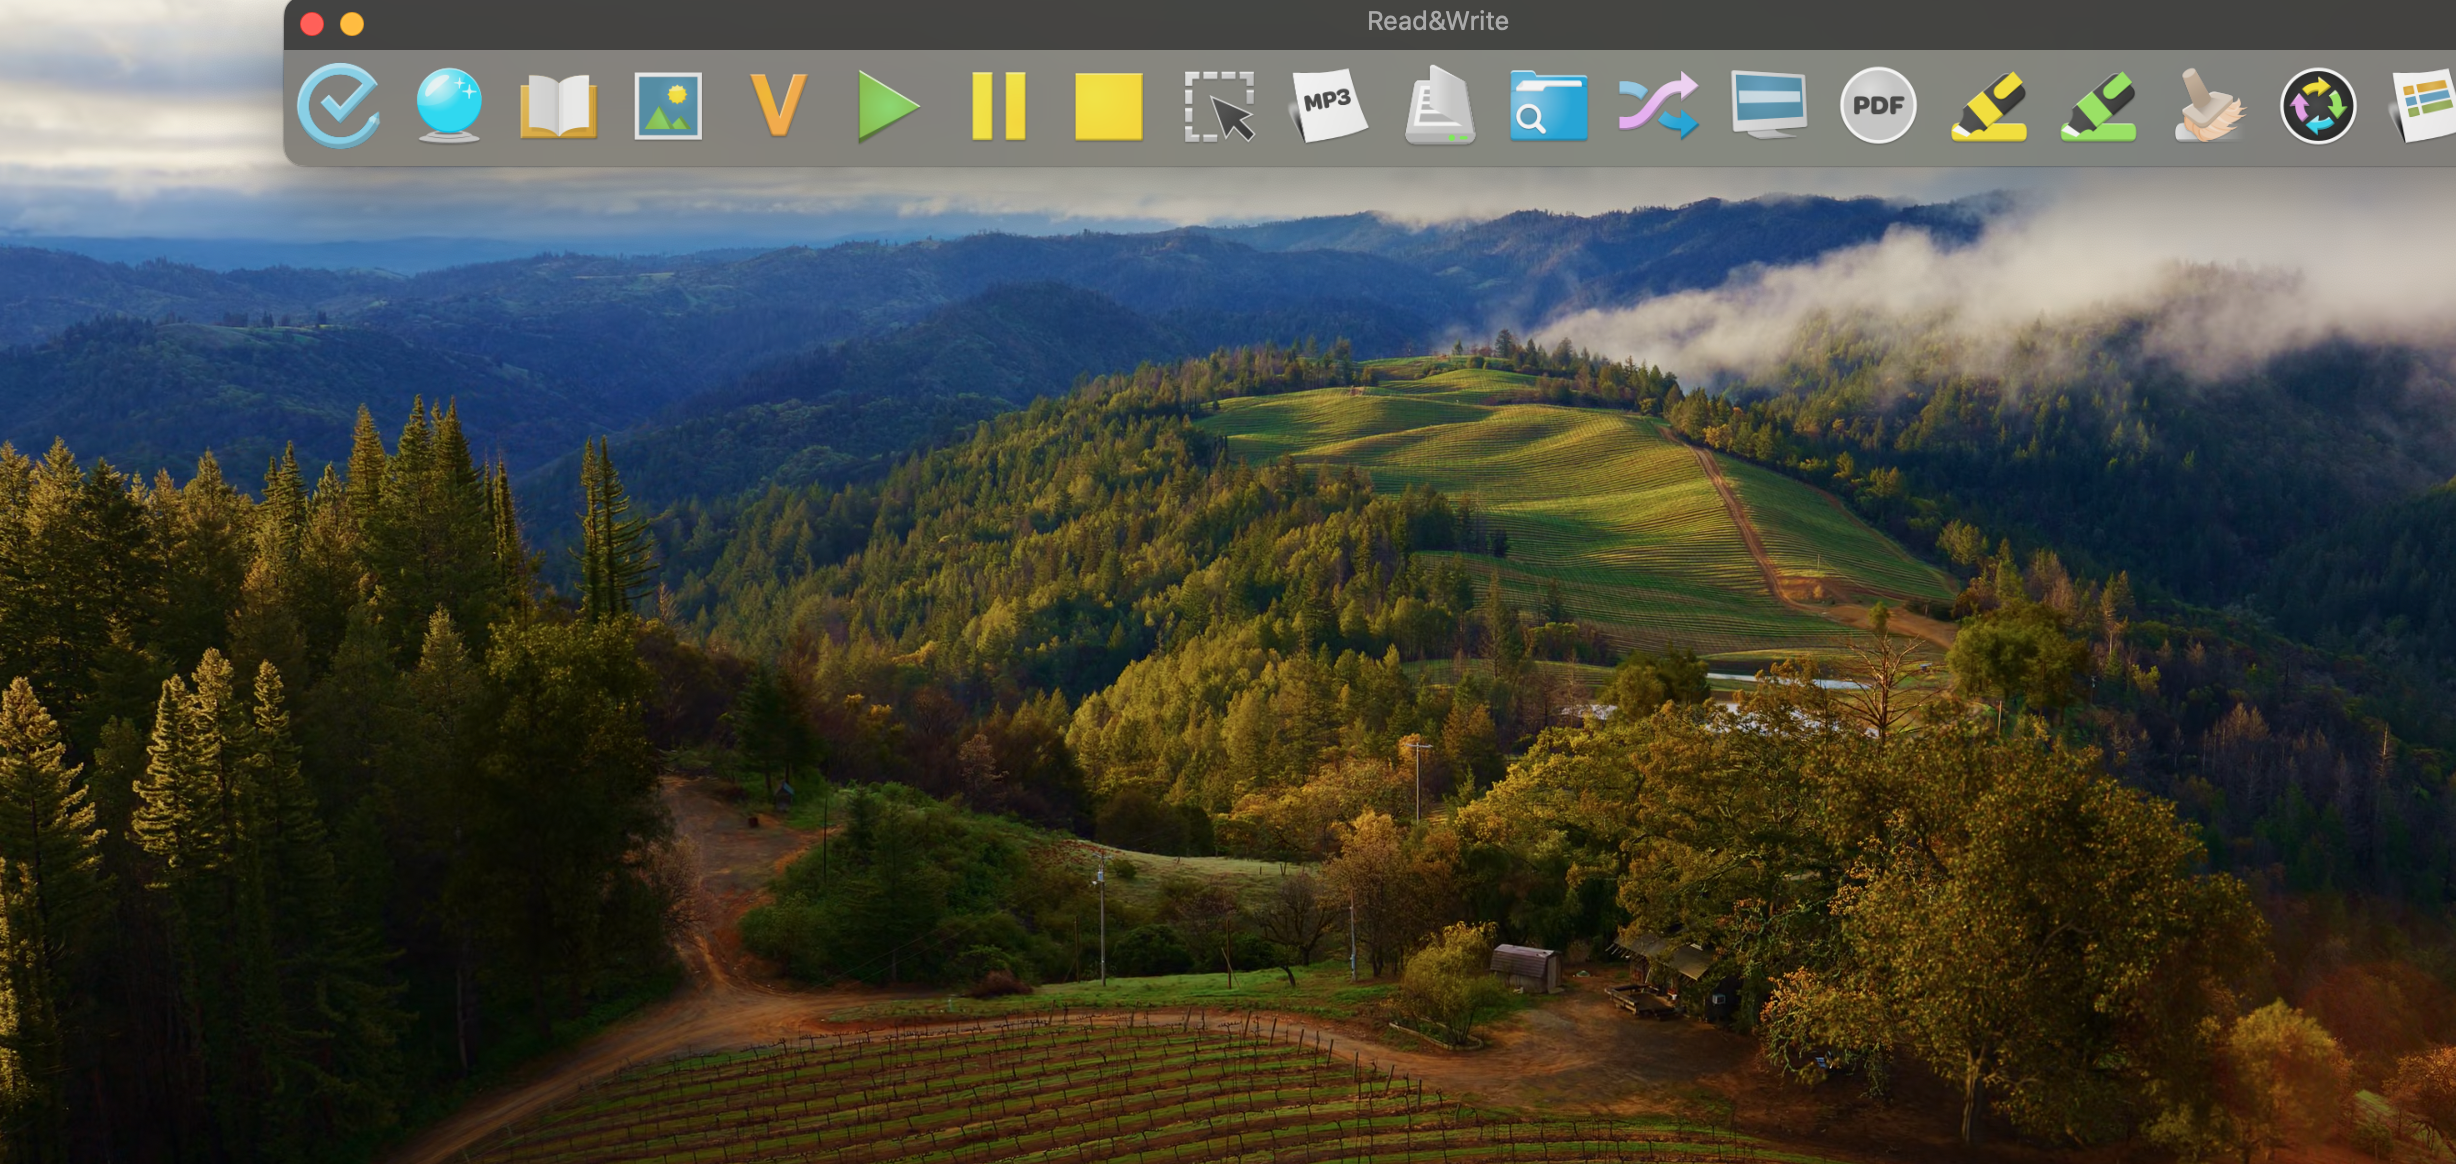
2. Click on the app prompting it to launch
3. Find the text that you would like to read.
4. Select the text with either your cursor or using the screenshot reader.
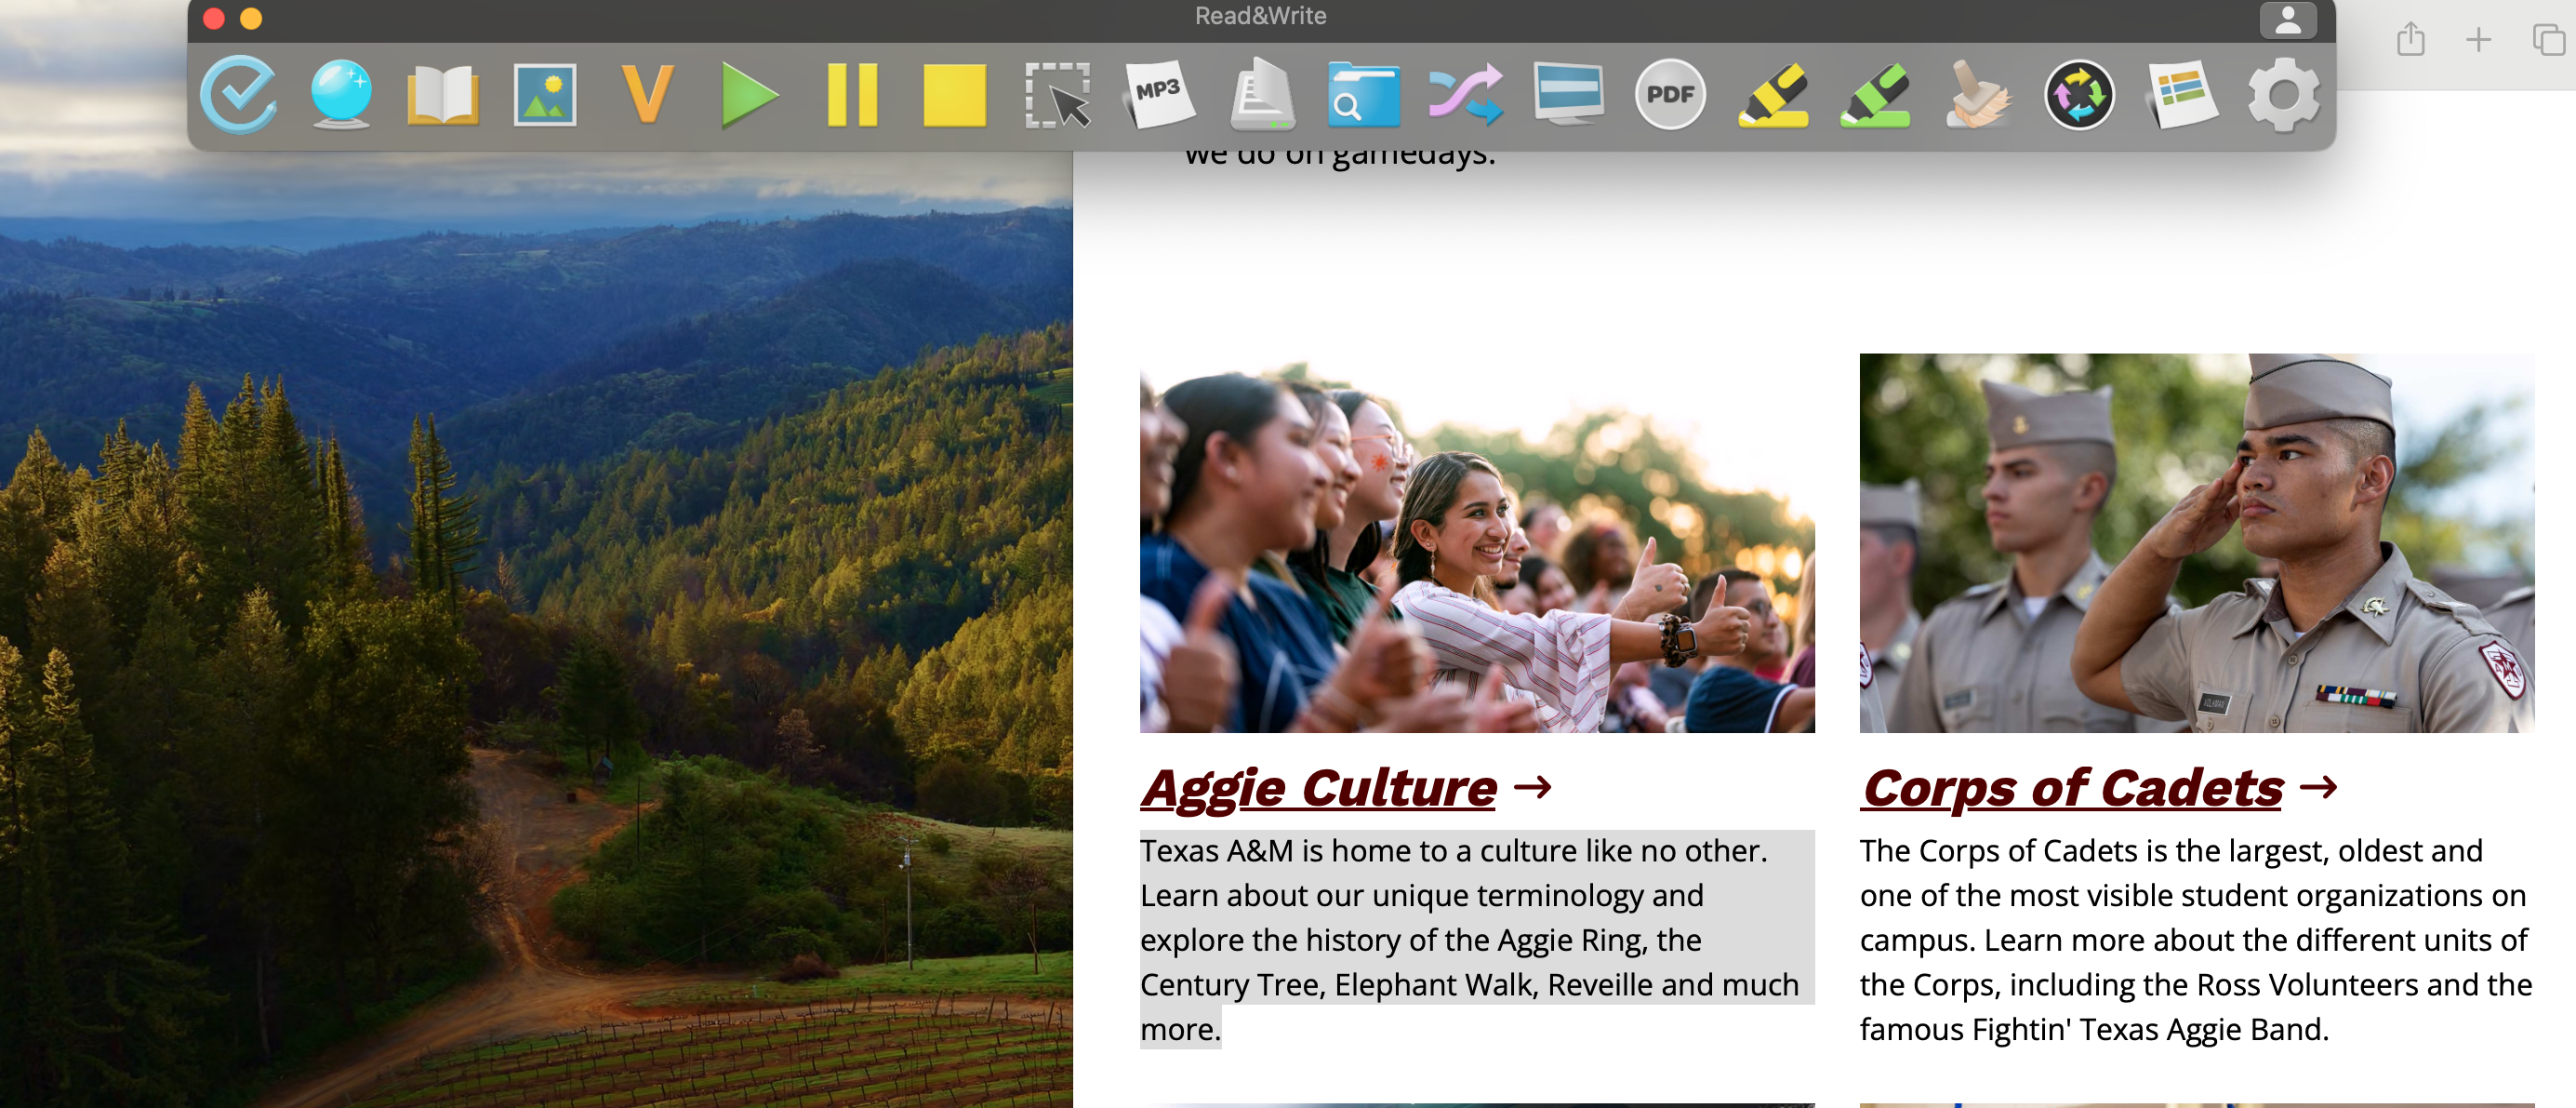
5. Click the play and pause button to listen and stop as needed.
To change settings on Read&Write
- Go to the far-right upper corner and click on the gear symbol. it will immediately take you to the settings page
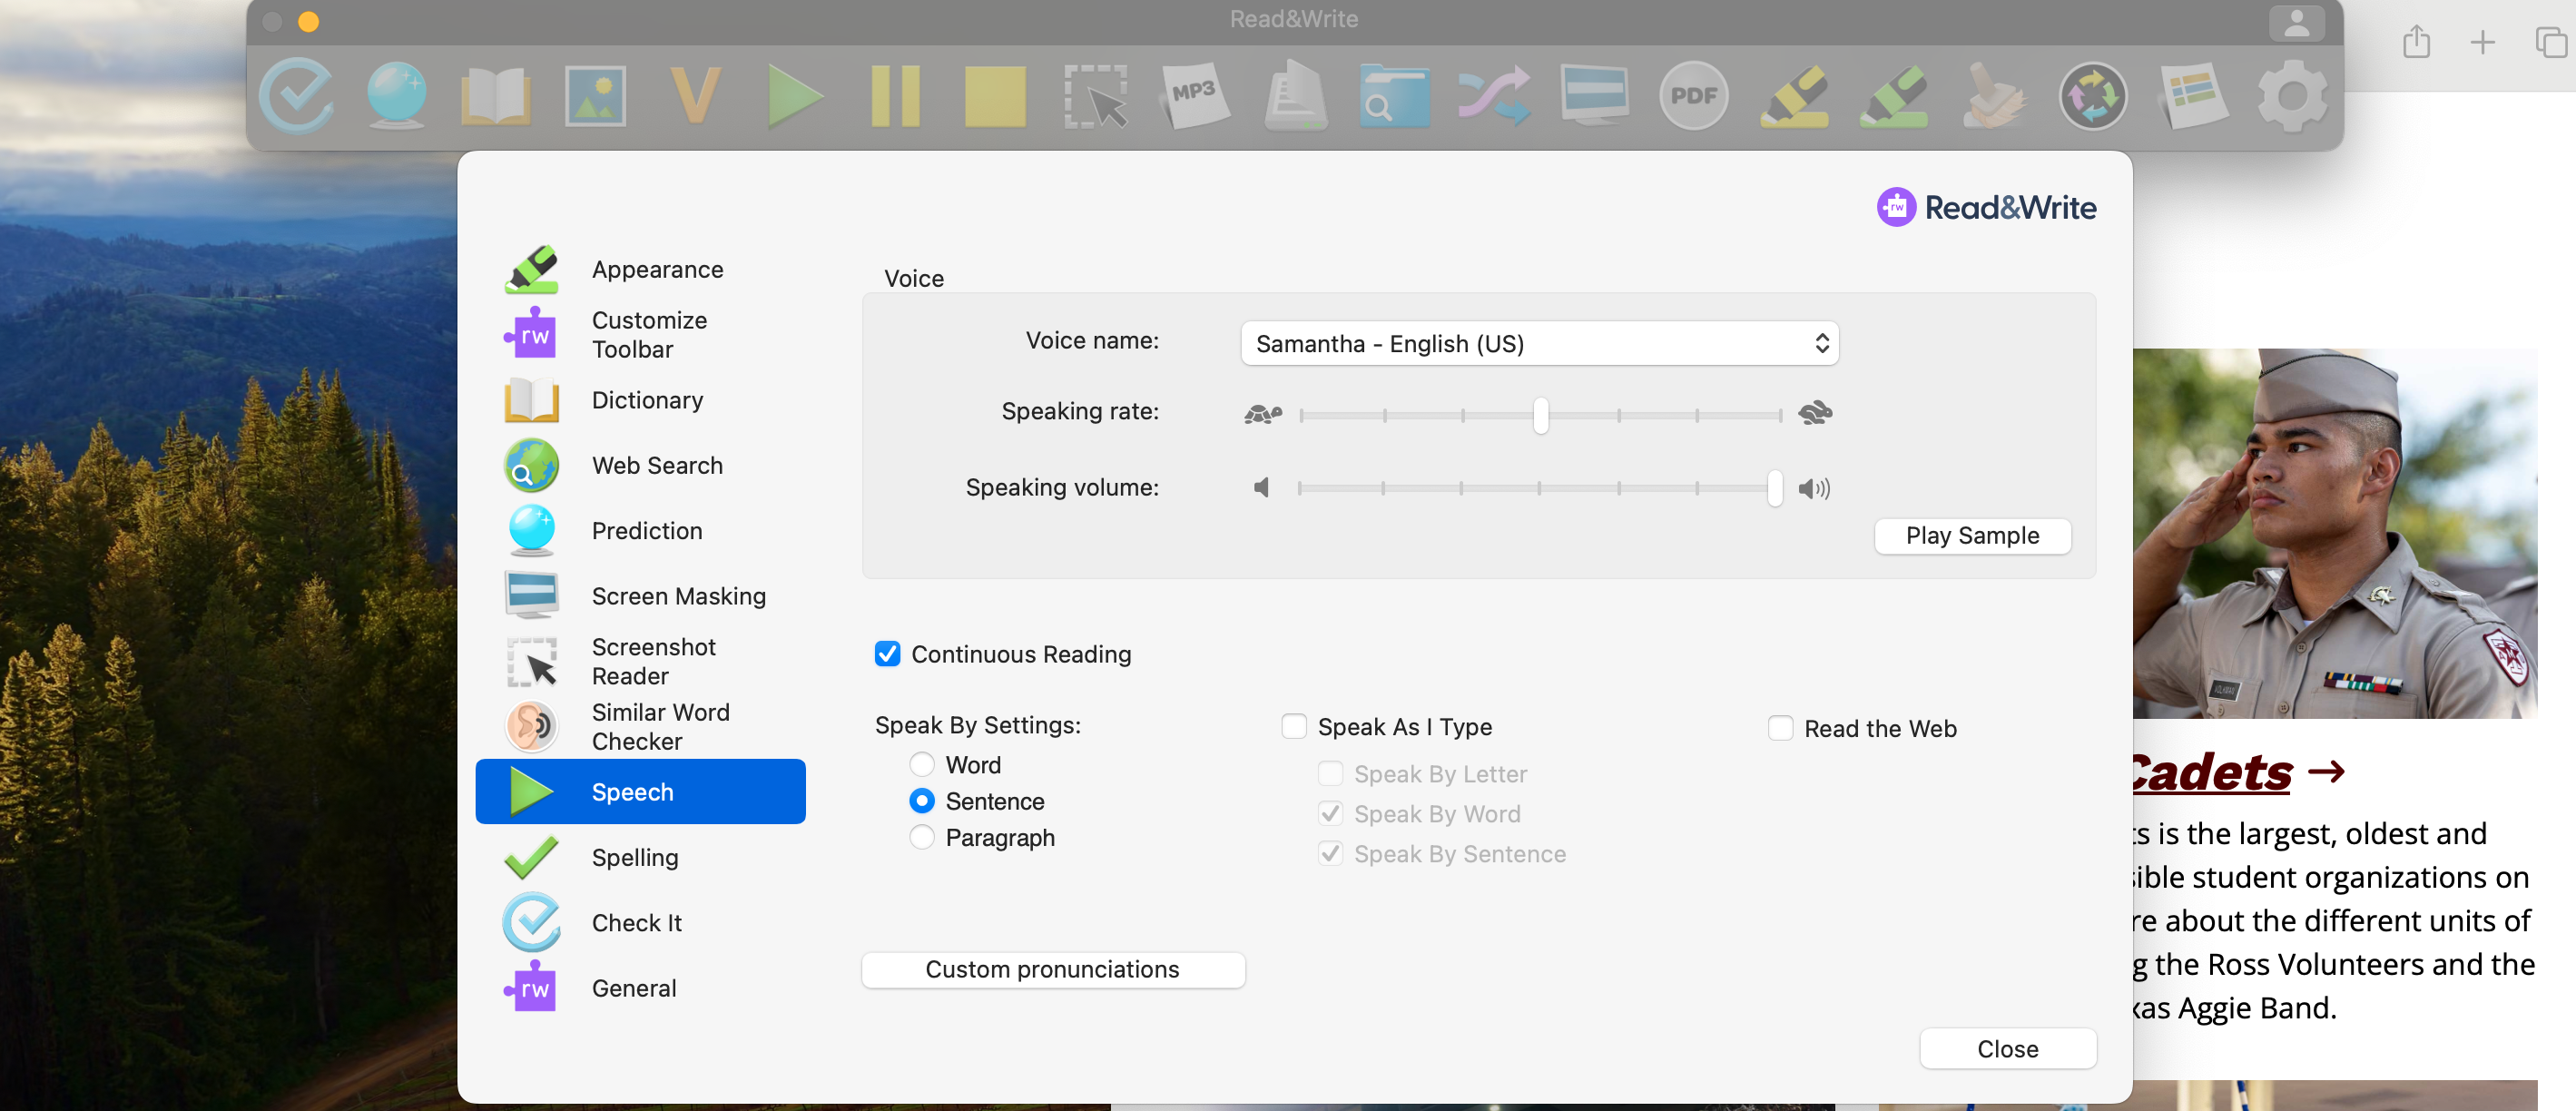
2. On the left-hand side go to the tab labeled “speech” with the green arrow
3. Here will be options to change the speed, frequency, volume, etc.
Using Text-to-Speech in Respondus
Respondus is currently only supported by Read&Write for Windows. If needing text-to-speech for Mac on an exam/quiz, please use the built in application in Canvas, ReadSpeaker.
If you have questions or concerns on which application to use or how to use ReadSpeaker, please contact Assistive Technology Services at [email protected] to discuss alternatives which work with Respondus.
Instructions for using Read&Write in Respondus for Windows
Please note: You will need to have downloaded and installed Read&Write Desktop for windows before accessing the app with Respondus.
- Before starting your exam in Respondus, you will open Read&Write Desktop.
- Once it finishes loading, you can then open Respondus and navigate to your exam.
- Read&Write will be placed in a locked-down mode that will restrict the app to essential features only.
You can see screen shots and review full details on using Read&Write Desktop for Windows with Respondus in Texthelp’s documentation.
Instructions for using ReadSpeaker in Respondus for Mac
Please note: If using Chrome/Edge, you will need to have downloaded and installed the ReadSpeaker Extension before accessing the app with Respondus. If using a different browser, you will need to download and install the ReadSpeaker Bookmarklet.
- Launch Respondus and navigate to your exam.
- Press CTRL + R and then the ReadSpeaker toolbar will pop open.
If you have any issues using ReadSpeaker during an exam, please close the exam immediately and email your instructor and assigned Access Coordinator to discuss the issue.